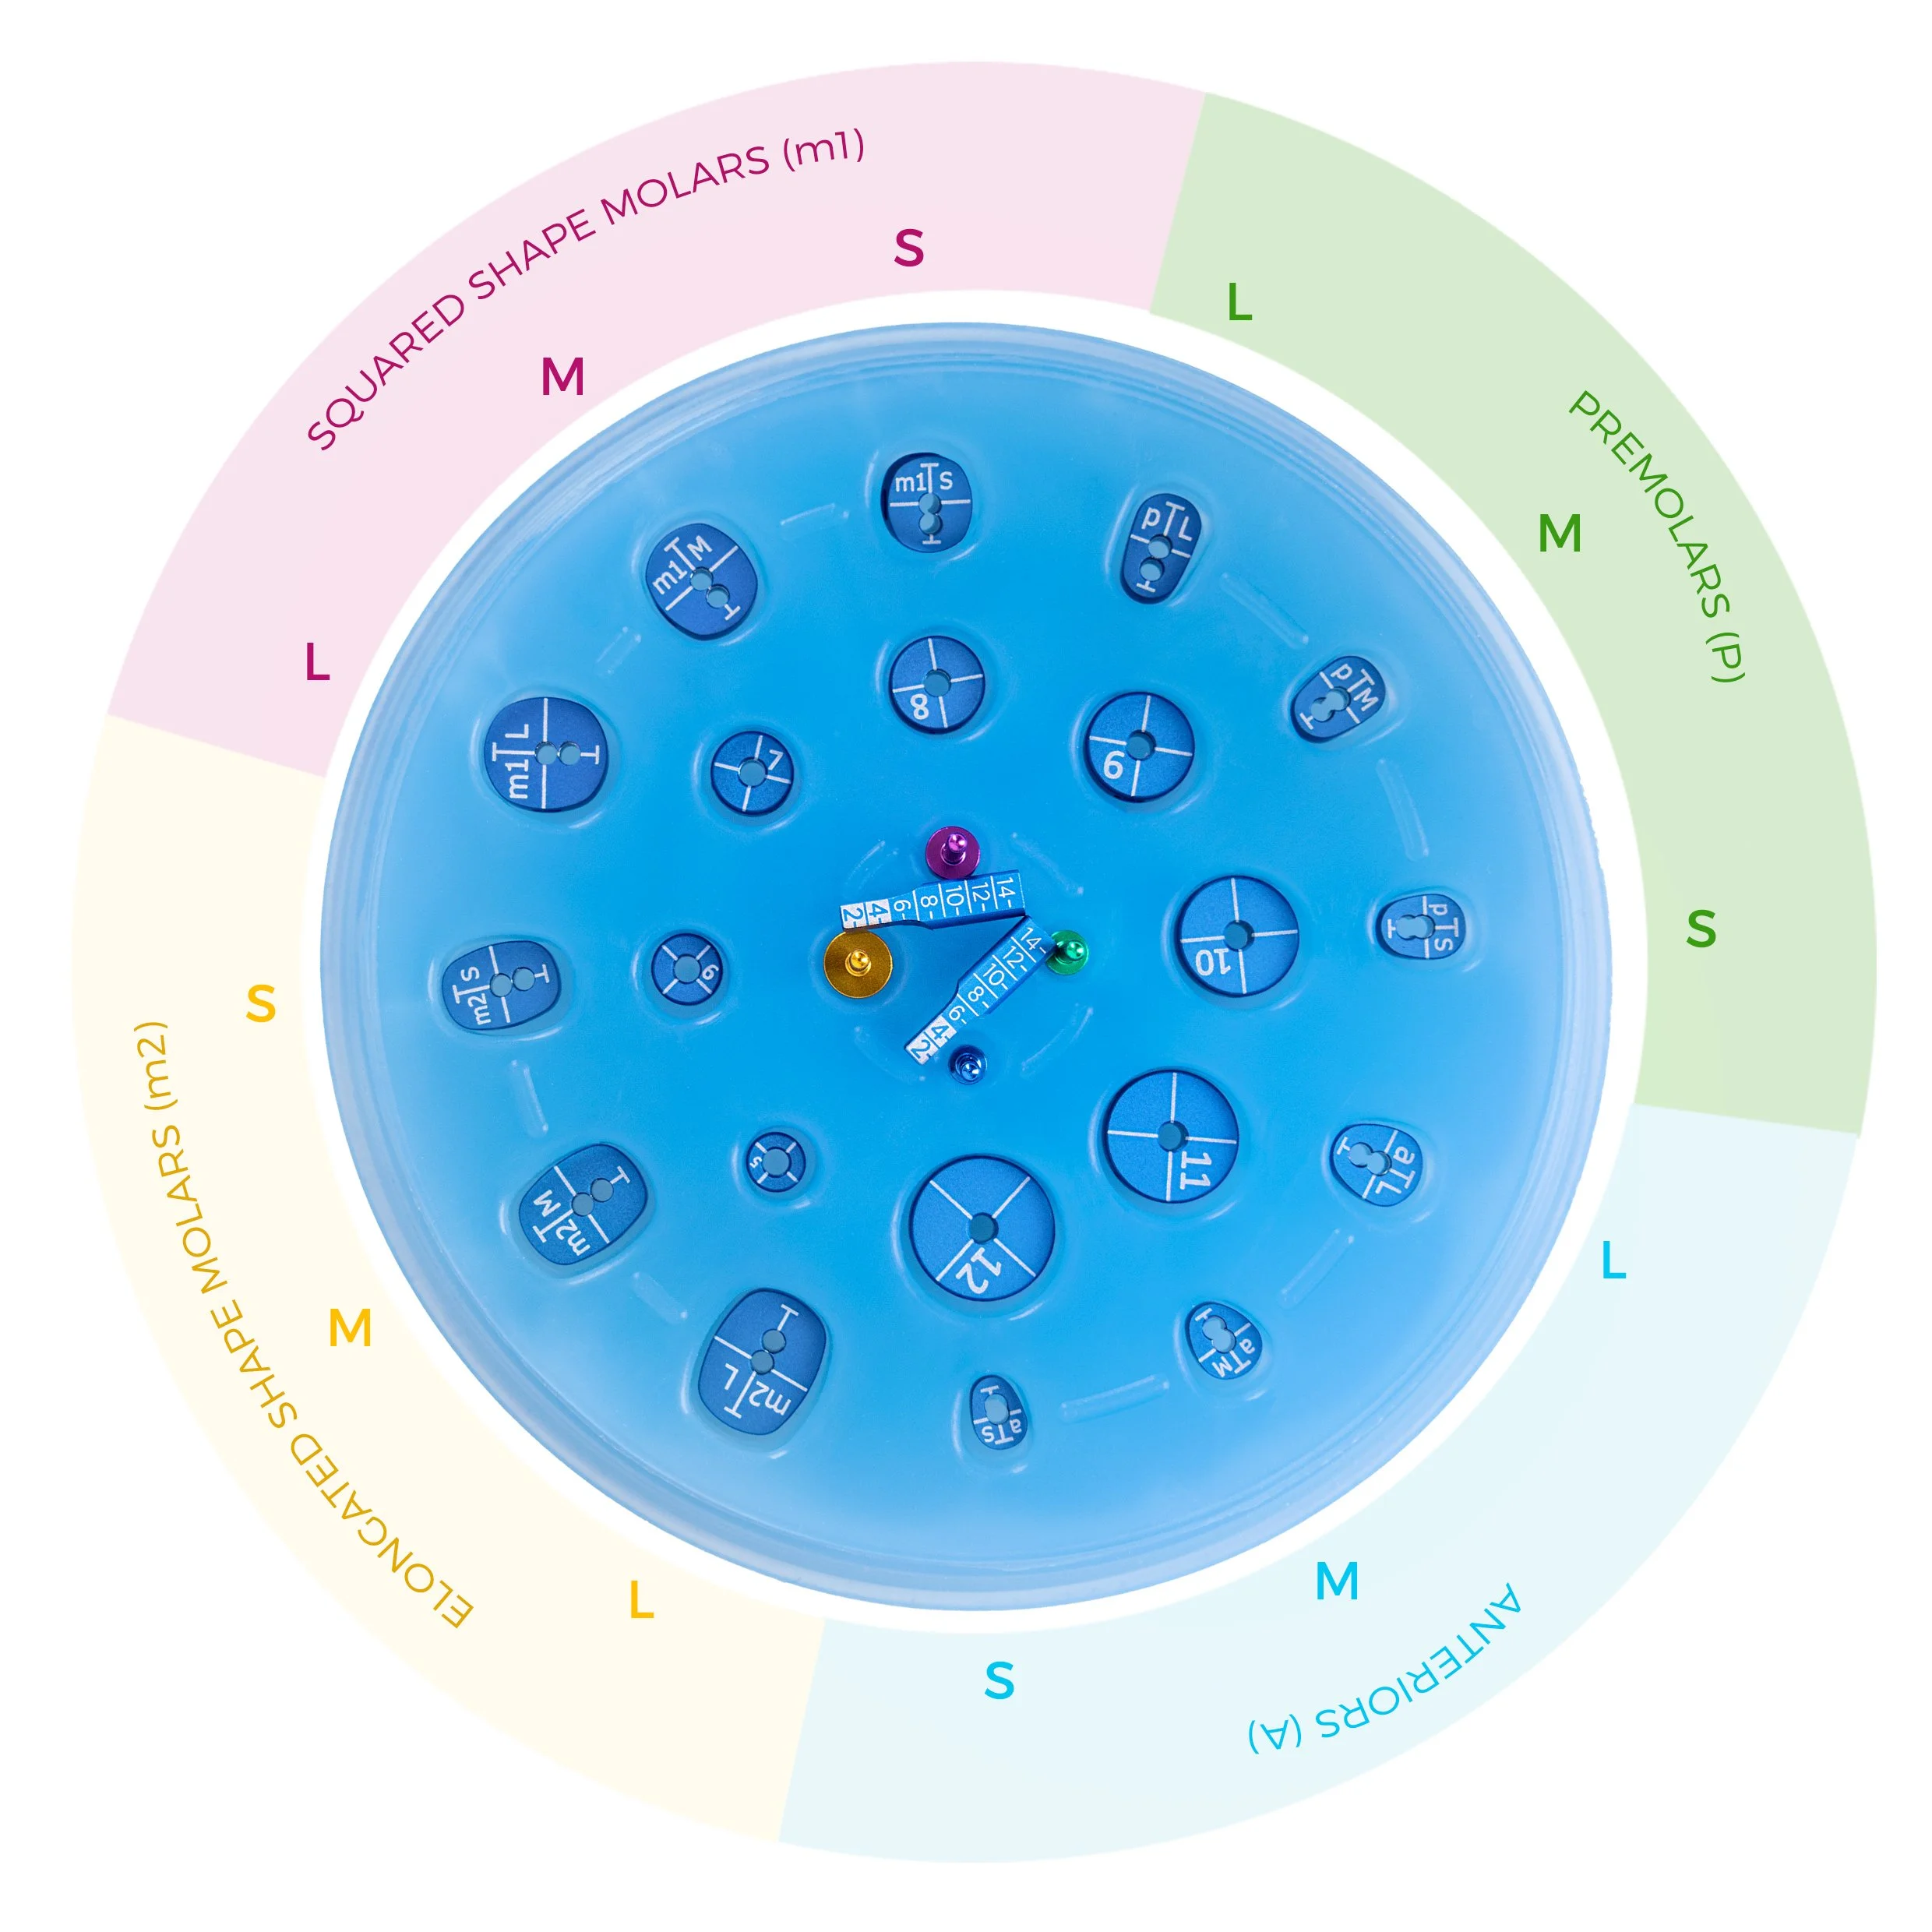
All types of tabs (anteriors, premolars, square shaped molars and elongated square shape molars) are available in three different sizes (small, medium, large)
Inside Row
Cylindrical shaped tabs (8) with a coding number that ranges from from 5 to 12. Their code represents their actual diameter in millimeters. The bore in located in the middle of these tabs allow for perfectly centered implant placement, as long as the engraved lines are aligned with the occlusal lines of the adjacent teeth.
Cervico Guide Pins
The Cervico Implant Guide Pins can be used for evaluation of the correct position and angulation of the implant osteotomy in relation to the desired cervical profile during implant osteotomy preparation. The top half of the pin is the same for all 4 sizes in order to allow the Cervico Guide tabs to be installed on top of them, while the bottom half changes in diameter to facilitate different stages of the osteotomy. The pins also have a ring that allows you to visualize the platform of an implant, depending on the size as following:
Ring diameter of the Cervico Guide Pins
• Ciel: 3.0mm • Green: 3.5mm• Purple: 4.5mm• Gold: 5.5mm
The four different diameters of the bottom half of the Cervico Guide pins which is introduced into the implant osteotomy and correspond to different drill sizes.
How it works
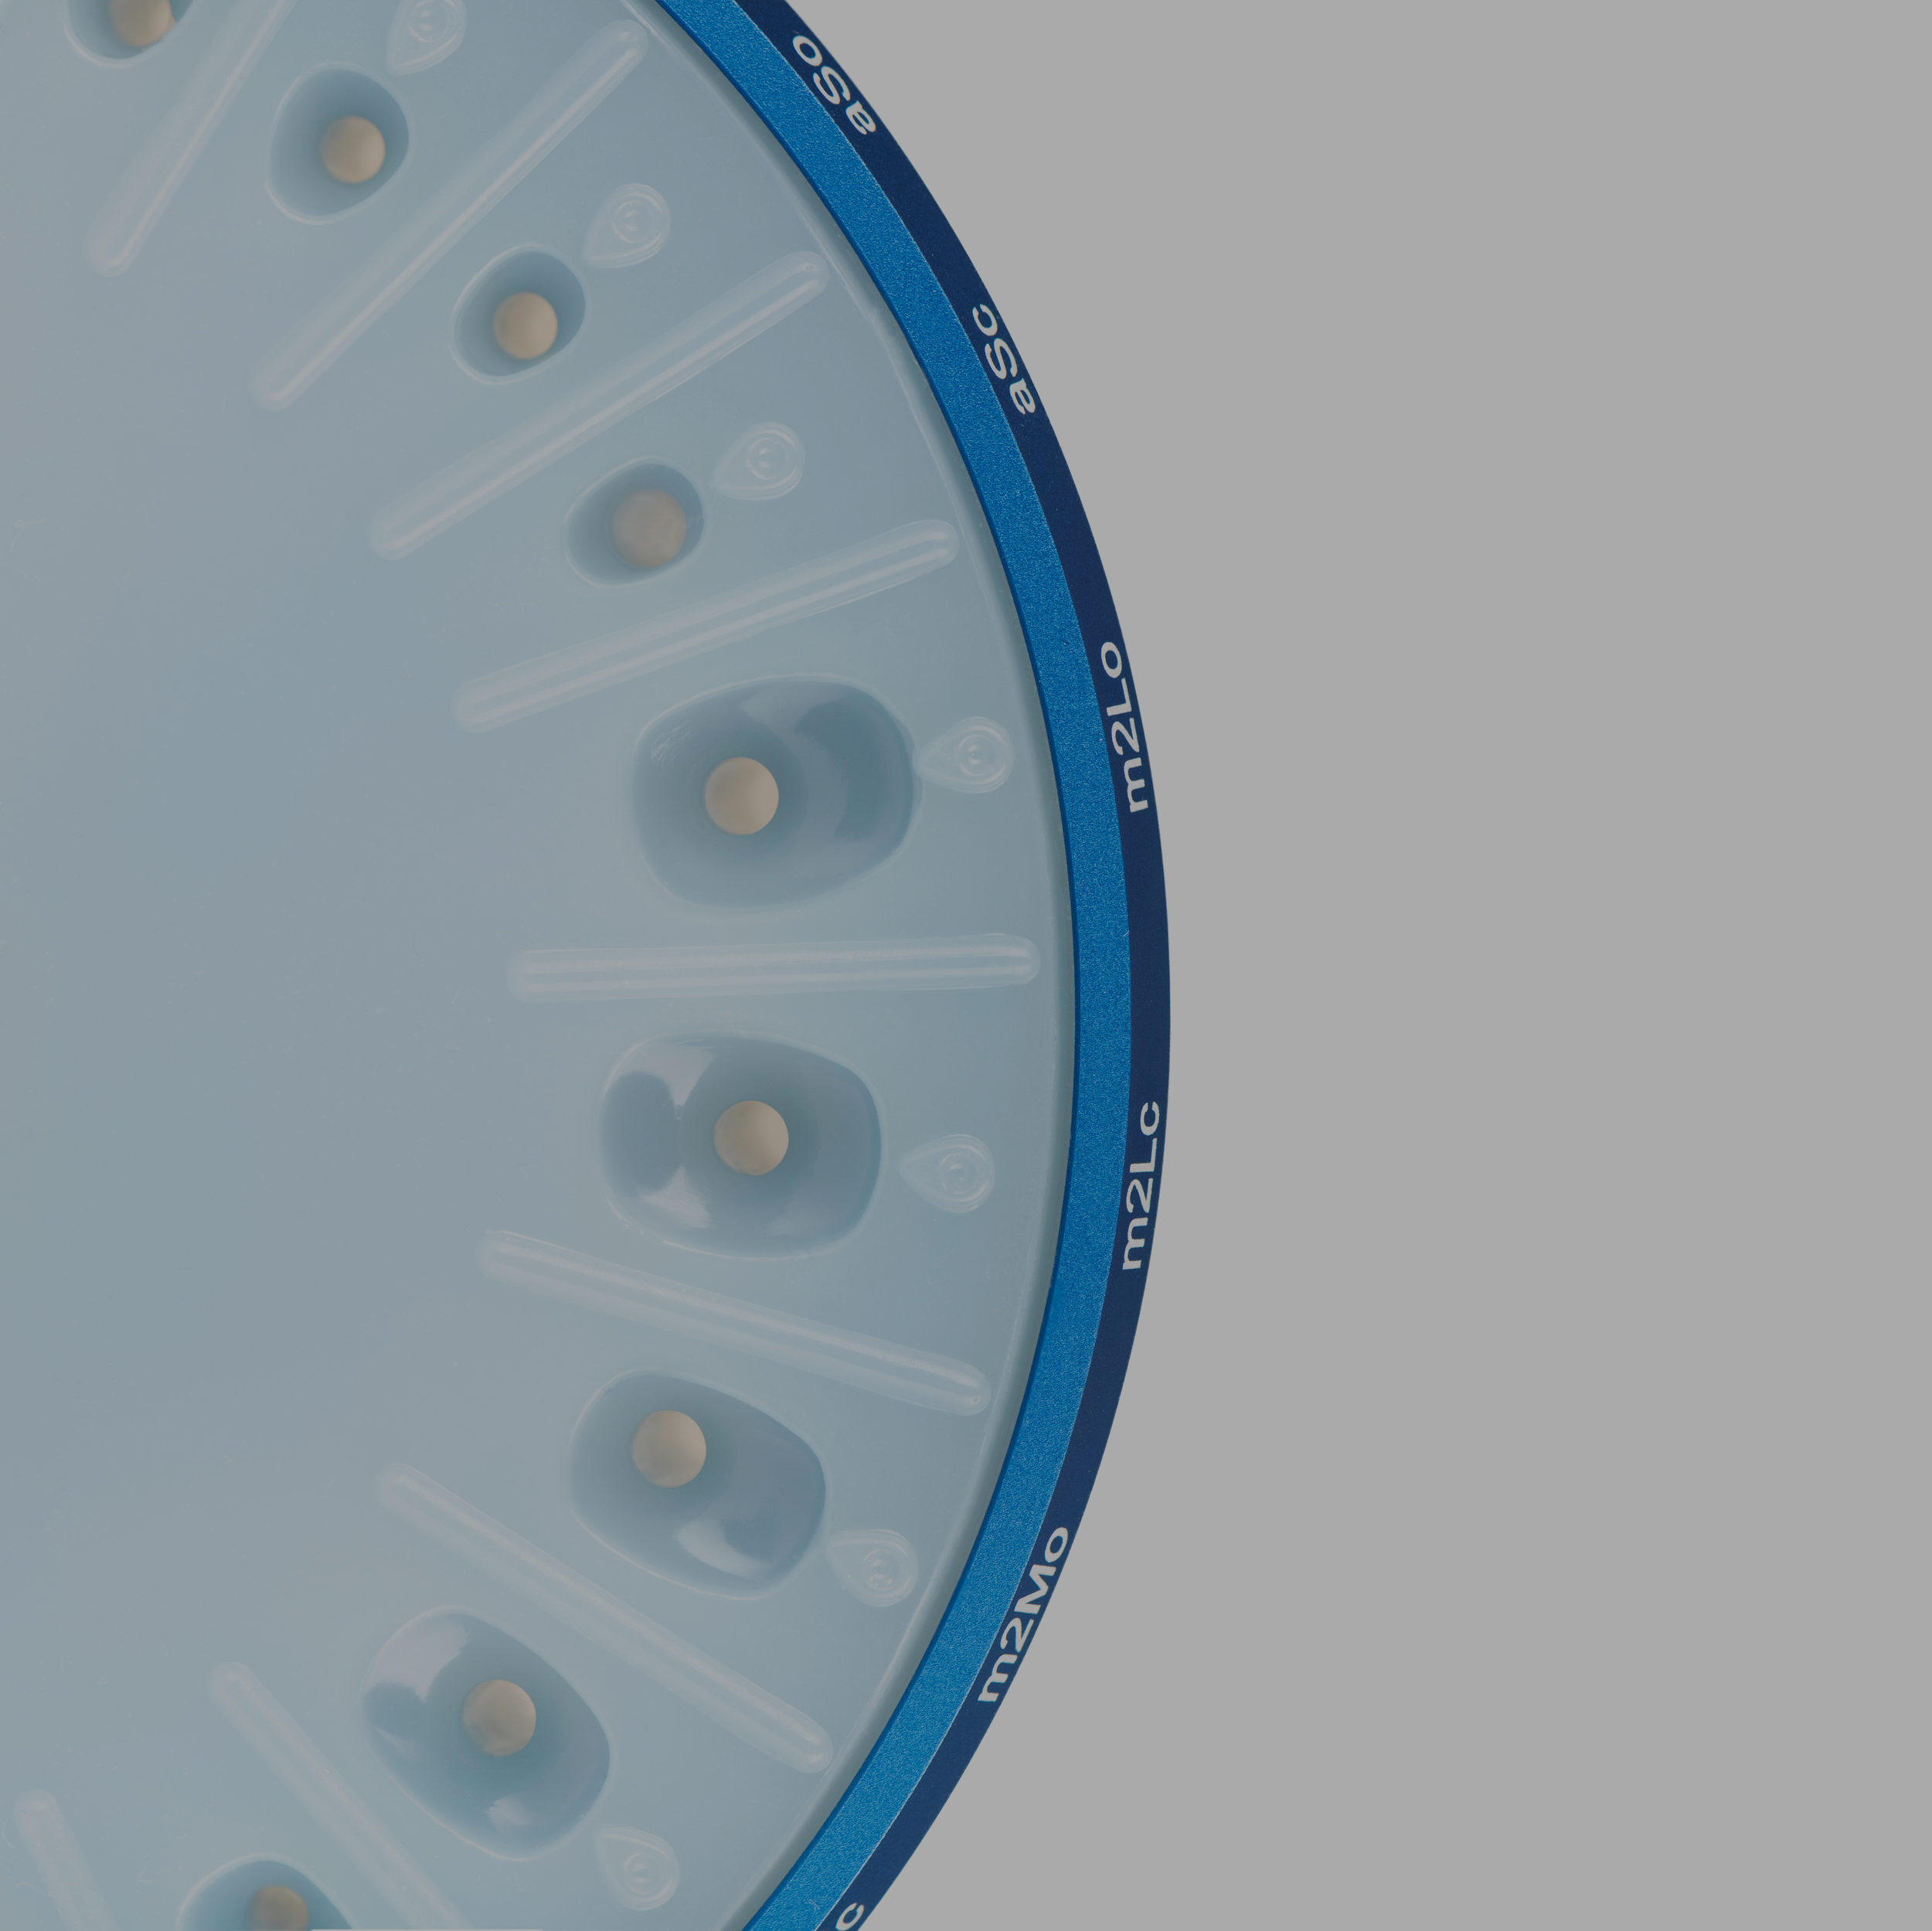
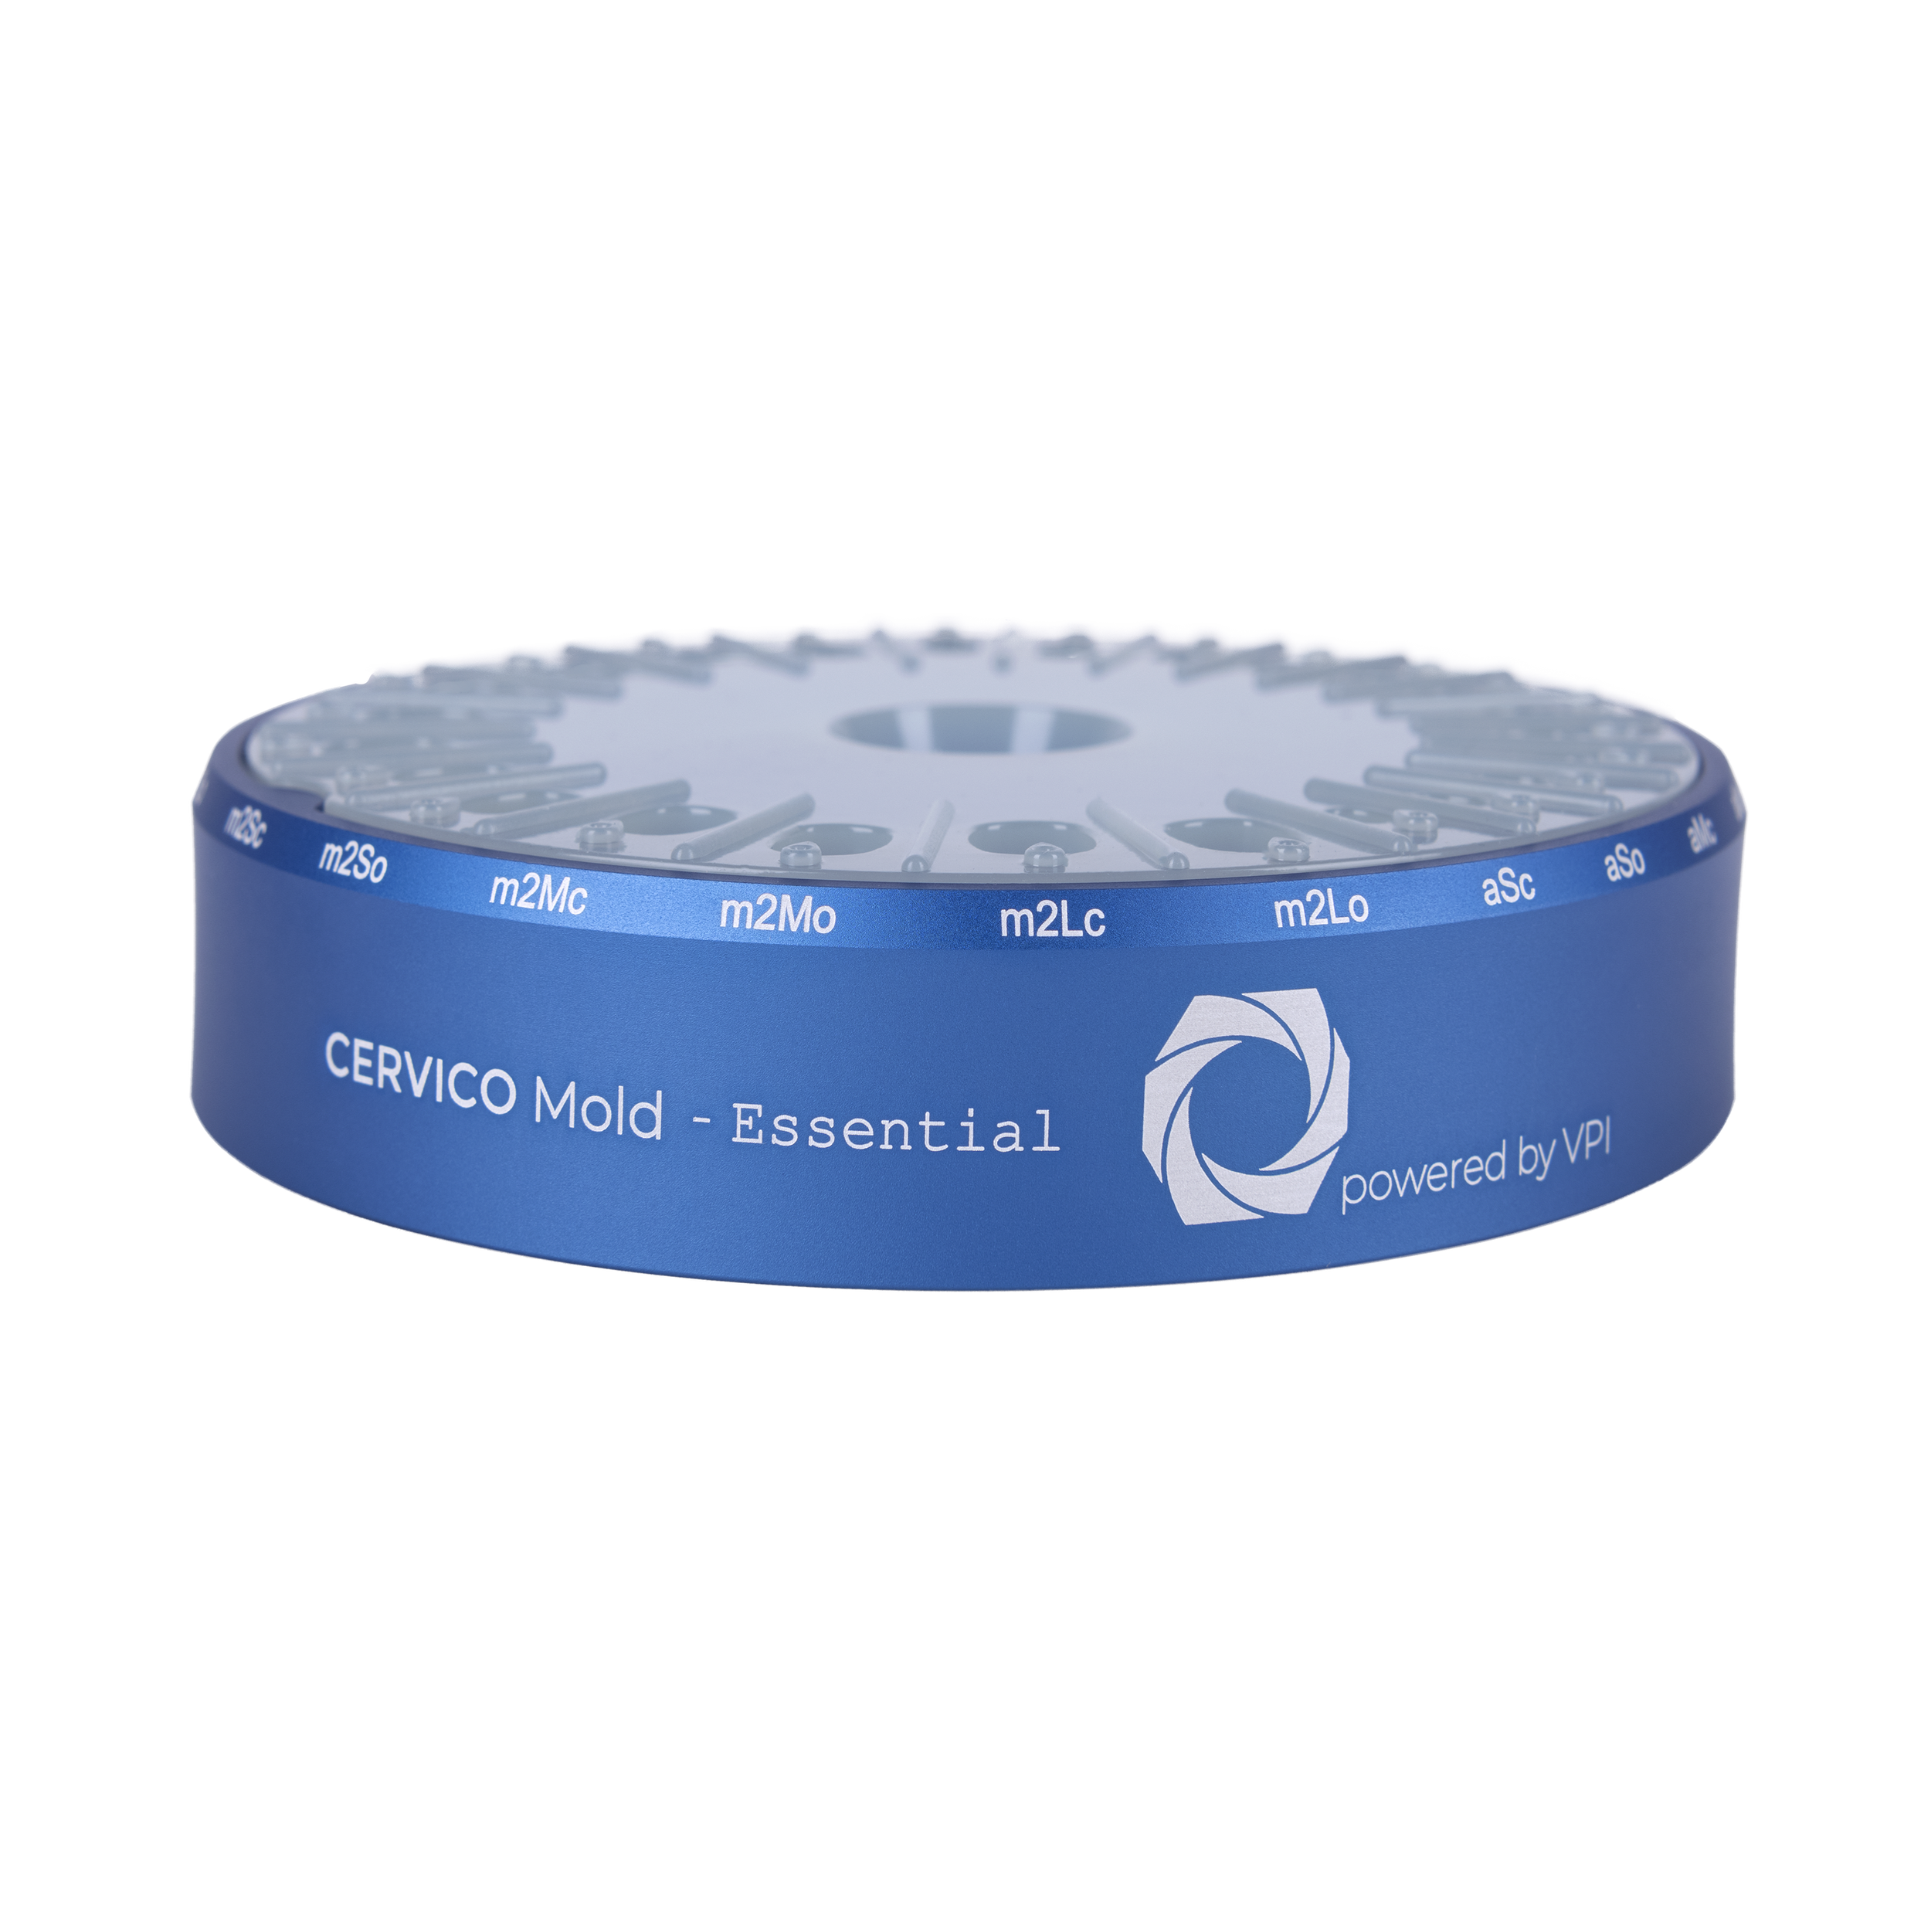
By simply evaluating the prosthetic space with the tab connected to the handle the clinician can identify, and therefore correlate, which size and shape cervico abutment needs to be prepared. The cervical tab of the guide with coding(pS) corresponds to the well of the mold with (pS) coding, etc.
This tool can also be used as a surgical guide for the proper positioning of the implant osteotomy.
Orientation T line of the cervical tabs, serve as reference for correct orientation of the prosthetic connection of the implant in space. This will allow proper orientation of the cervico abutment once coupled with the implant.
Implant companies utilise orientation markers on their implant carriers to allow proper control of implant prosthetic connection orientation in space. Orient these markers towards the T-line.
For example:
External Hex or Internal Hex or Octagon or Square Connections: Flat seat of connection (or implant carrier) parallel to the T-line
Trilobe Connections: Vertex of connection pointing towards the T-Line
Grove/Locks Connections: Orientation markers of implant carrier pointing towards the T-line.